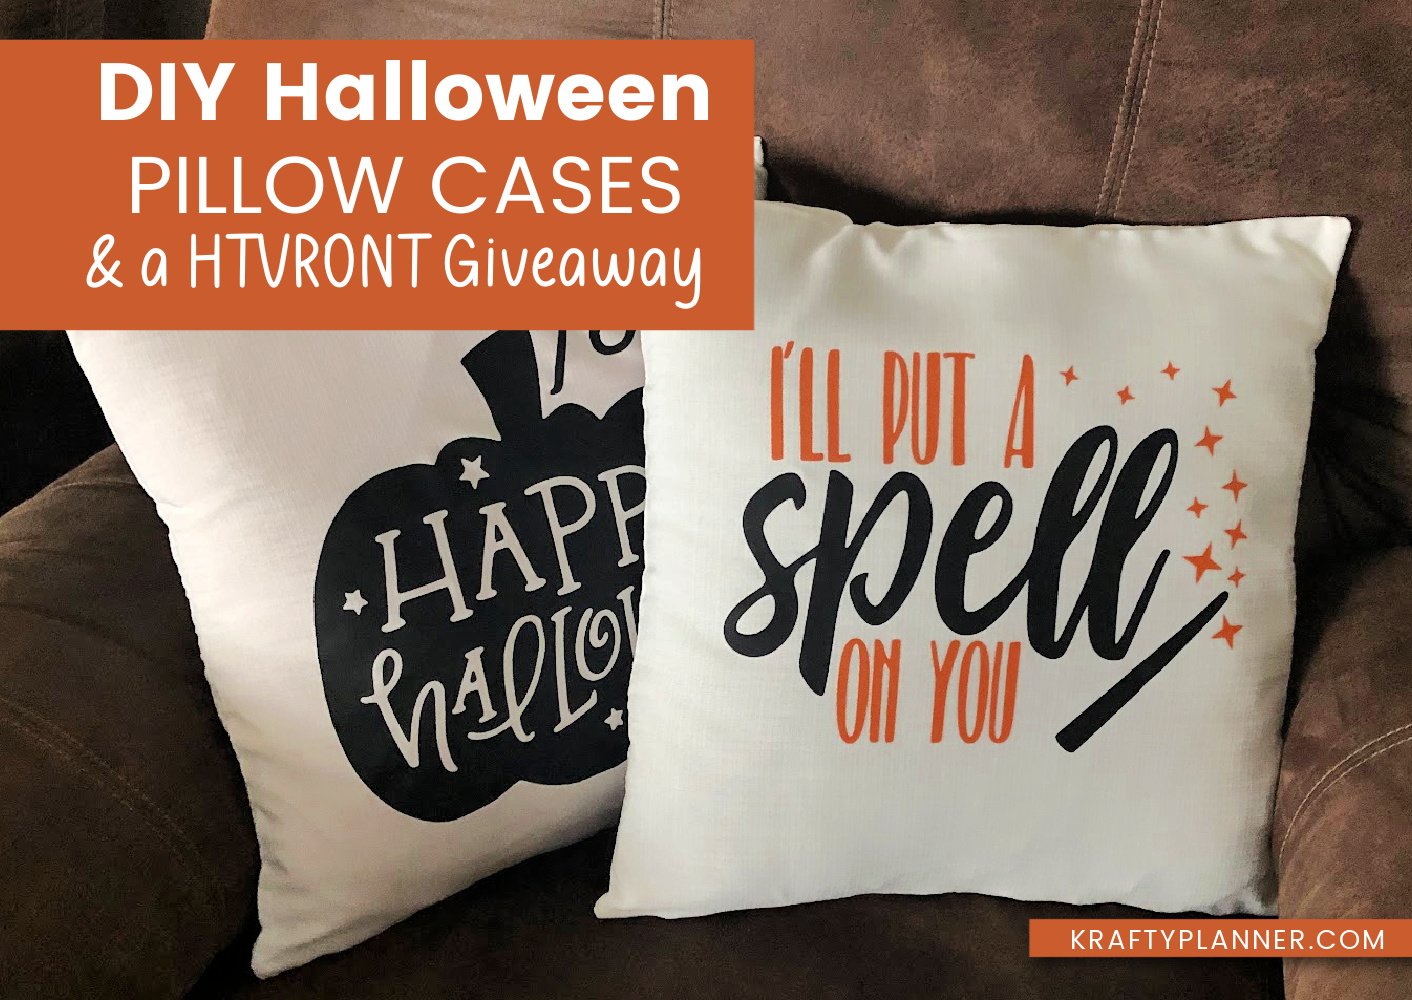
DIY Halloween Pillowcases and a Giveaway!
** HTVRONT is sponsoring the giveaway. I was not compensated for this post and all opinions are my own. **
Hey there, fellow Krafty Planners! It's that magical time of year again when the leaves start turning, pumpkins adorn every doorstep, and we get to unleash our inner crafty ghouls. 🍁🎃
And I’m about to make your Halloween DIY projects even more thrilling with the HTVRONT Halloween Giveaway Event! 💥✨
What's up for grabs, you ask?
Well, get ready to be enchanted by the ultimate Halloween Heat Transfer Vinyl Bundle 🌟
This bundle includes six vibrant colors that are perfect for all of your Halloween creations: green, orange, yellow, black, white, and red.
Whether you're aiming for spooky silhouettes or cheerful pumpkins, these shades have got you covered.
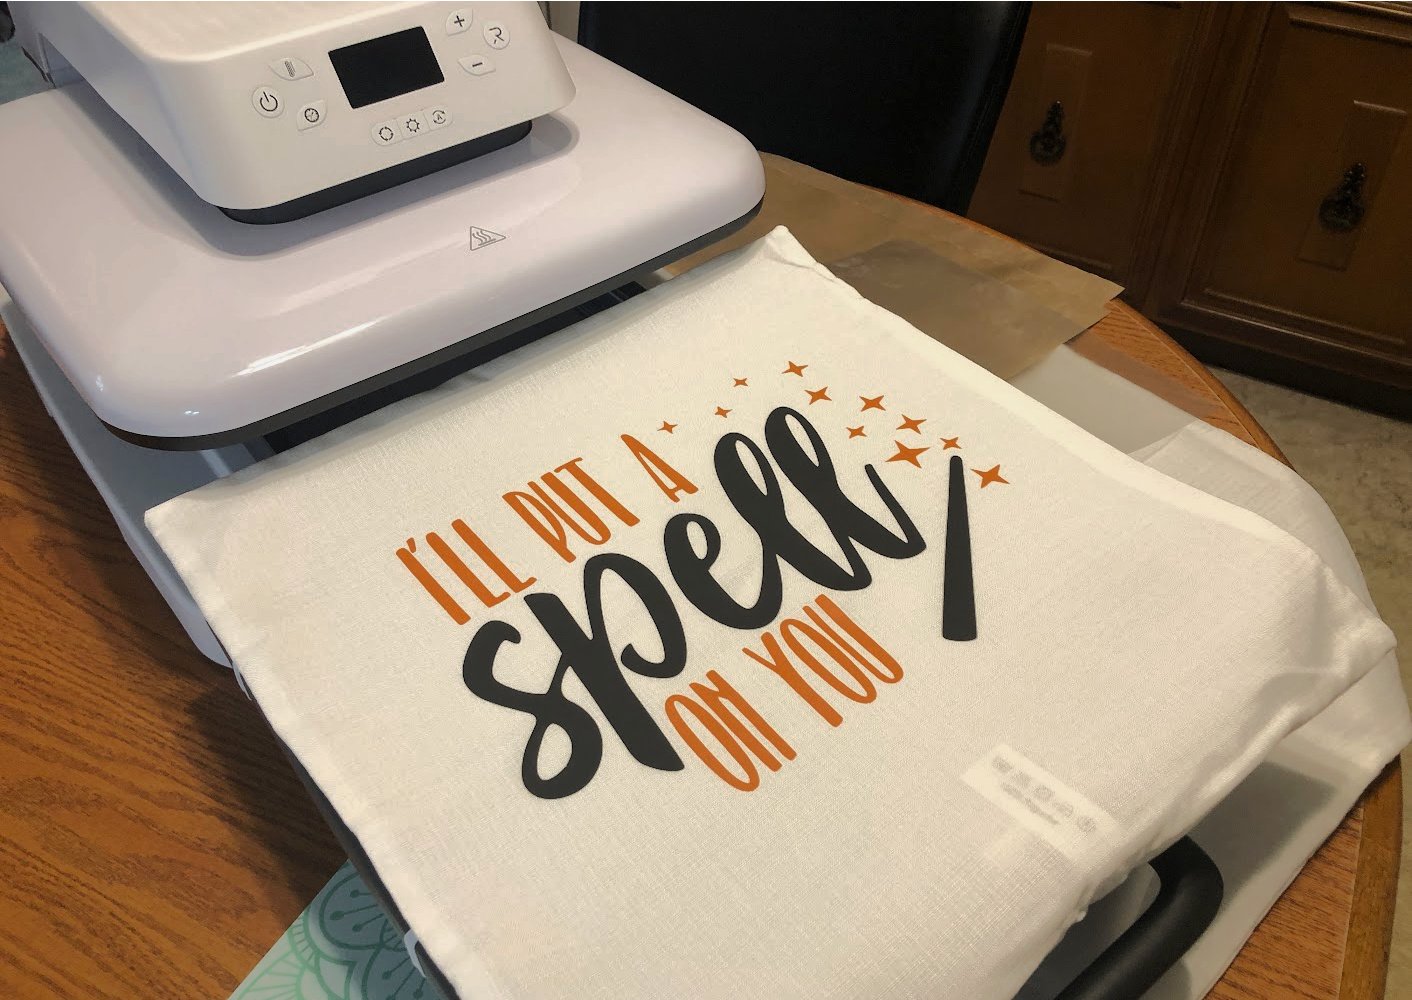
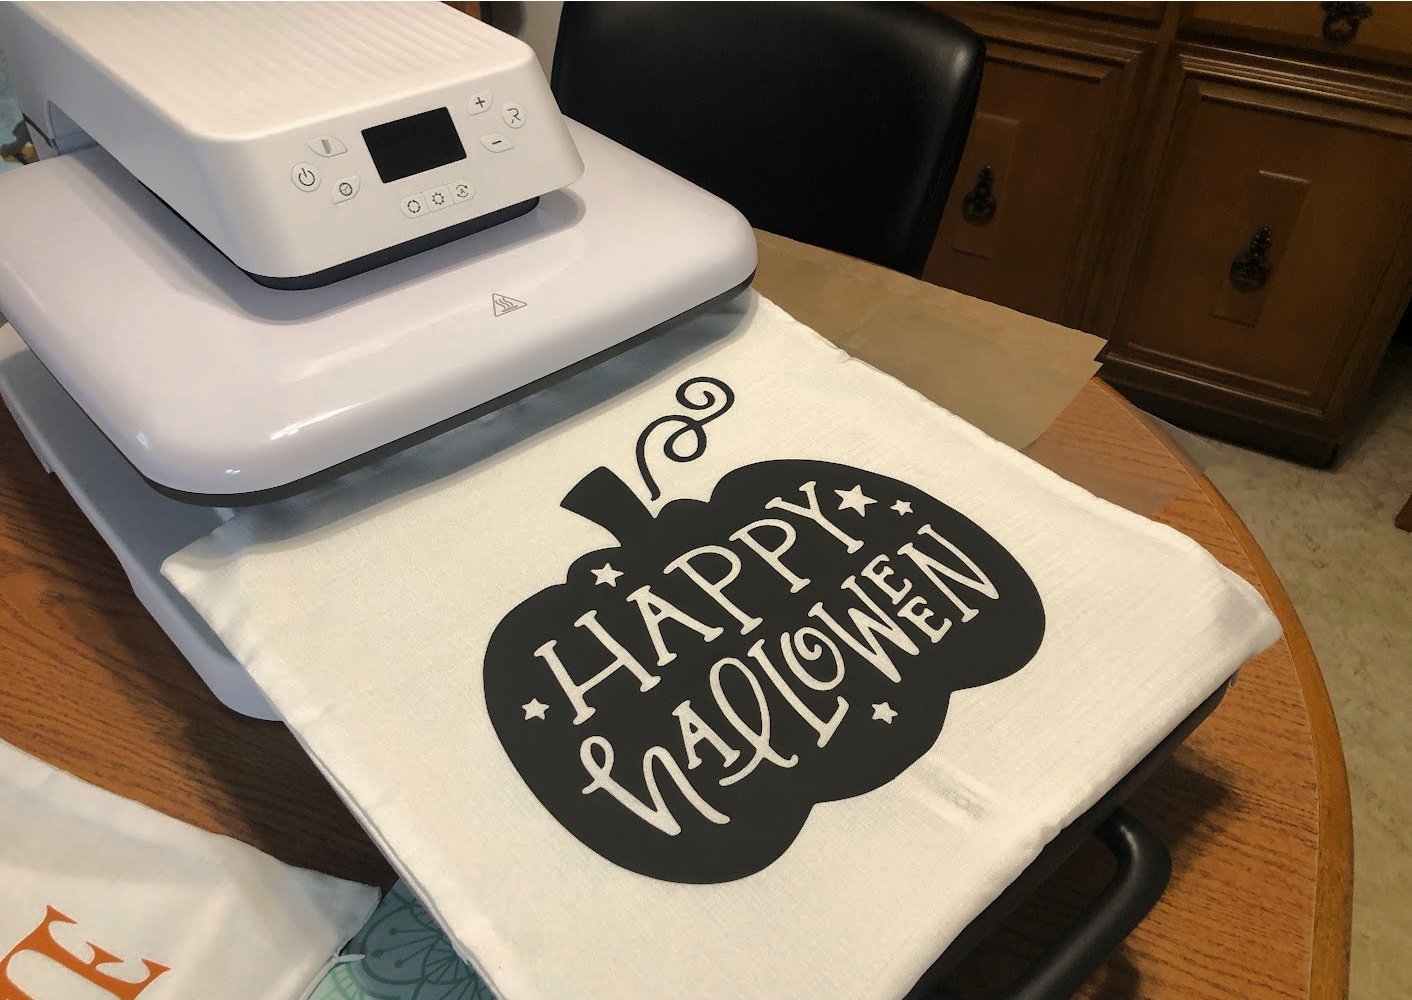
I recently got my hands on the HTVRONT Auto Heat Press and decided to make some spooktacular Halloween pillowcases that I can't wait to show off! 🎃👻
More information on the giveaway can be found further down in the post.

If you've been wanting to create eye-catching designs using two colors of vinyl, you're in for a treat!
In this short tutorial, I will guide you through the steps to achieve a stunning multi-color vinyl project using an HTVRONT Auto Heat Press.
Materials You'll Need:
A weeding tool (to remove excess vinyl)
Teflon cover sheet - the technical term 😂
Your blank item (T-shirt, tote bag, pillowcase, etc.)
A computer with design software and a cutting machine (if not using pre-cut vinyl)

Step 1: Design Your Project
Start by creating or selecting a design that incorporates the two colors of vinyl you want to use.
You can do this using design software like Adobe Illustrator, Silhouette Studio, or Cricut Design Space. Make sure to reverse your images before cutting or it will be backward after it’s pressed.
Step 2: Cut Your Vinyl
Load the first color of vinyl into your cutting machine and follow the instructions to cut your design. I use a Silhouette and am able to separate which words and images get cut for each color of vinyl.
Once the first color is cut, switch to the second color and cut the remaining part of your design. Make sure both colors align correctly in your design.
Step 3: Weed the Vinyl
Carefully weed (remove) the excess vinyl around your design for both colors using a weeding tool. Be meticulous to ensure clean edges and accurate placement.

Step 4: Preheat the HTVRONT Auto Heat Press
Turn on your heat press and set it to the appropriate temperature for the vinyl you're using. Refer to the vinyl manufacturer's instructions for the recommended temperature and time.
Step 5: Arrange the Vinyl on Your Blank Item
Place your blank item on the ironing board drawer. Position the first color of vinyl on the item in the desired location. Cover it with a teflon cover sheet.
Step 6: Heat Press the First Color
Push the drawer in and press the R button to start the heating process. The heating plate will automatically lower and apply heat and pressure to the fabric for the selected time.
When the time is up, it will automatically raise up so you can pull out the ironing board and move on to the next step.
Step 7: Position and Layer the Second Color
Now, place the second color of vinyl in its designated spot, making sure it aligns perfectly with the first color. Use the heat-resistant cover sheet again to protect the first layer of vinyl.
Step 8: Heat Press the Second Color
Repeat step 6 and press the R button to start the heating process. The Auto Heat Press will take it from there!

Step 10: Cool and Enjoy
Allow your item to cool completely before using it.
Congratulations! You've successfully heat-pressed two colors of vinyl onto your project, creating a stunning multi-color design.
With practice, you'll master the art of layering and heat pressing multiple colors of vinyl, opening up endless possibilities for your crafting endeavors.

Check out this quick video to see just how easy it is to transform plain pillowcases into bewitching Halloween decor.
This is my first-ever video and I know there are a few issues with it, so please don't be too harsh in the comments. 😊
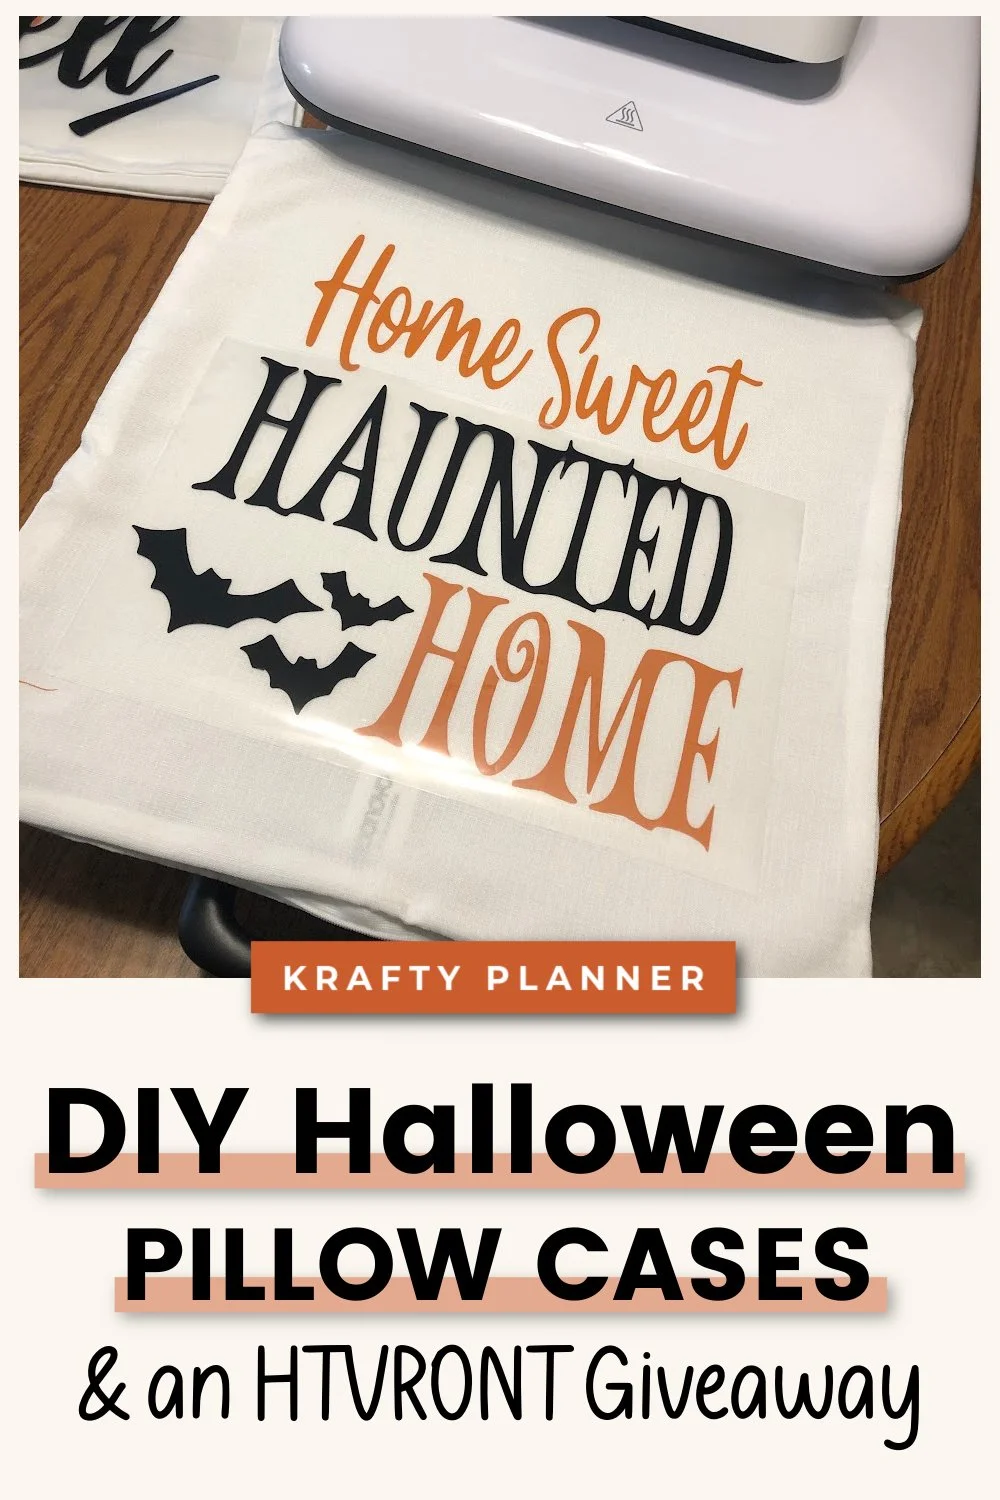
Here are some of the other designs I made so you can get a better look at them.

Now, here's the part you've all been waiting for:
The HTVRONT Halloween Giveaway Event! 🎉

HTVRONT is giving one lucky Krafty Planner reader the chance to win their very own Halloween Heat Transfer Vinyl Bundle!
Imagine the crafting possibilities! From trick-or-treat bags to custom costumes, this bundle will have you crafting up a Halloween storm.
The winner will be announced on September 12th, I will update this post with the winner’s name and send them an email directly. 📣🎉
**You must be in the US and have a valid address. PO boxes will not be accepted.
So, what are you waiting for? Let's get crafty for Halloween with HTVRONT! 🧡🖤

SHARE YOUR THOUGHTS!
Did you find this article helpful? I would love to hear your thoughts about it. Please feel free to ask any questions in the comments section.
Before You Go:
Here are a few more posts you might like:
THE ULTIMATE LIST OF PRODUCTS, APPS, TOOLS, AND RESOURCES I USE ON A DAILY BASIS
See my Link Party Directory for a current list of blog parties I attend each week.
This post was featured on the following link parties, thank you for your support! ❤️


FOR PERSONAL USE ONLY – Please Read Freebies Terms of Use.
(This post may contain affiliate links. For more information, see my disclosures here.)
~ Share This Post ~
Did you like this post? Do you know someone else who might enjoy it? Please take a minute to share it on Pinterest, Facebook, or your favorite social media… Thank you!


![2026 Reader Requested Week Is Here! [Day 1: Roundup]](https://images.squarespace-cdn.com/content/v1/5c5ed55ed86cc94f34ef8b90/7197018e-a2a2-435c-8327-6dcffeac77e9/2026+Reader+Requested+Week%21+Free+Printable+Round+Up.jpg)