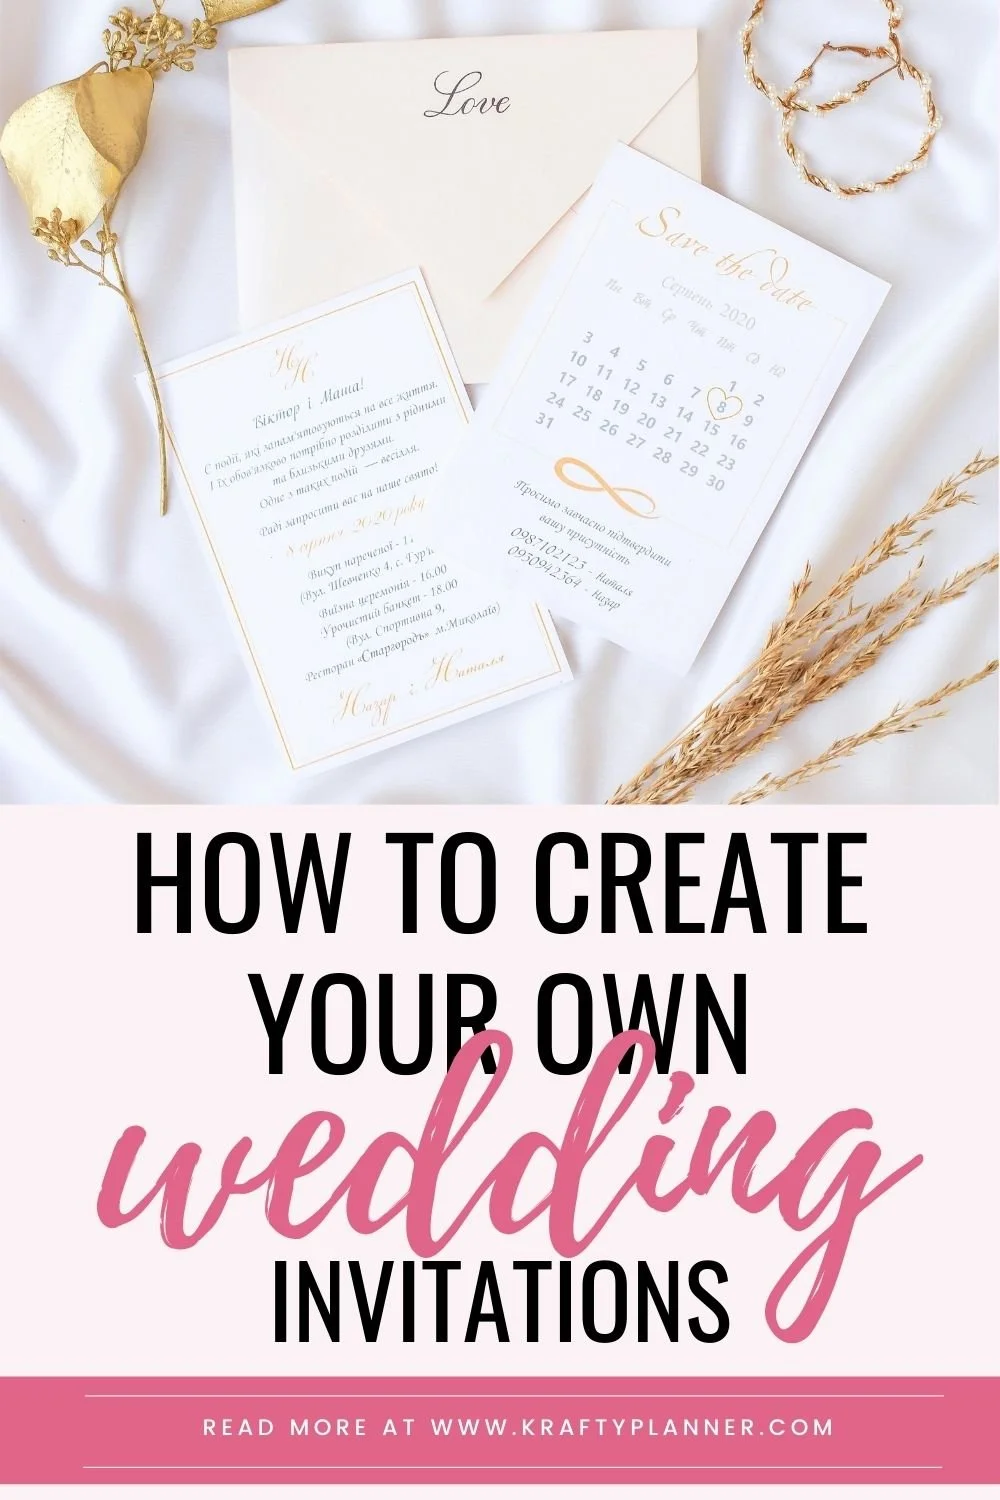
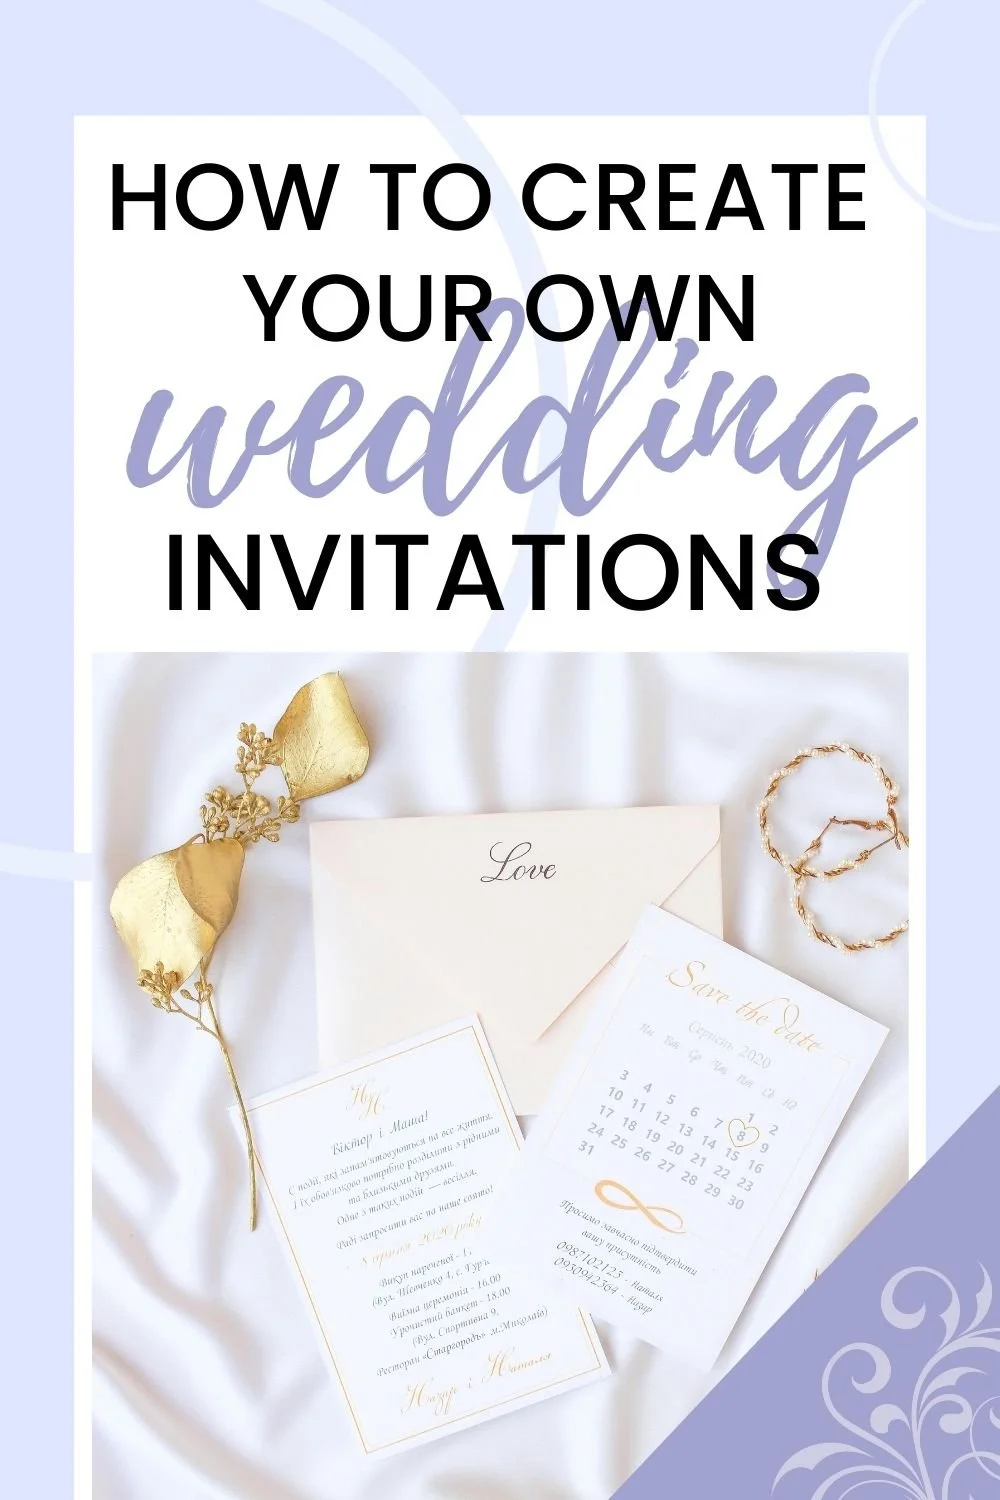
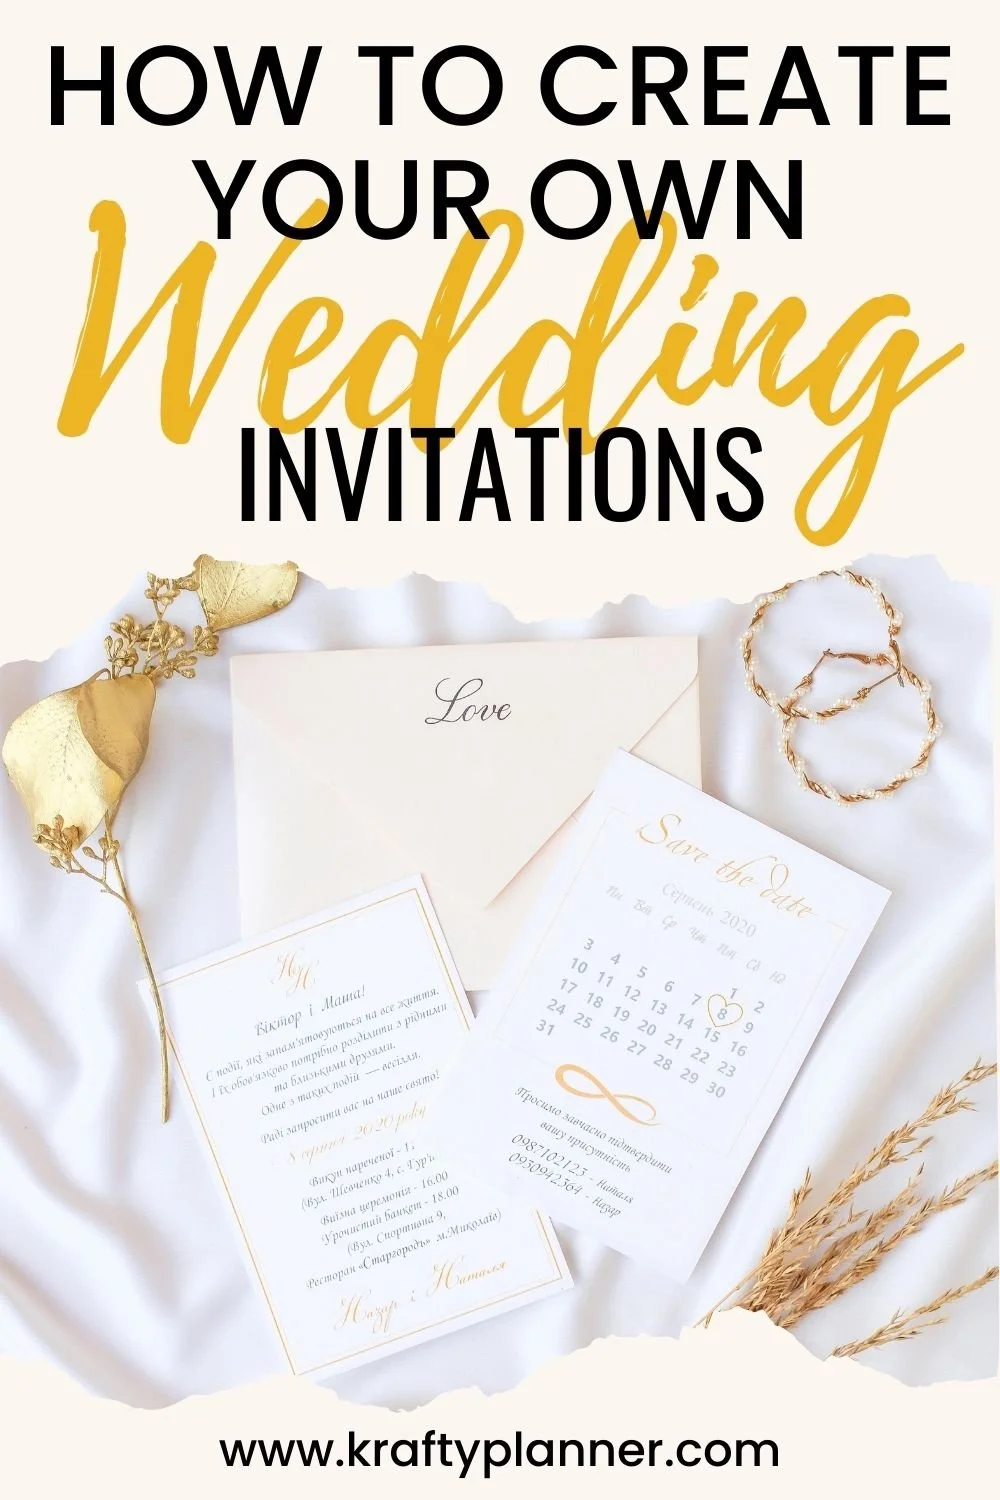
How to Create Your Own Wedding Invitations
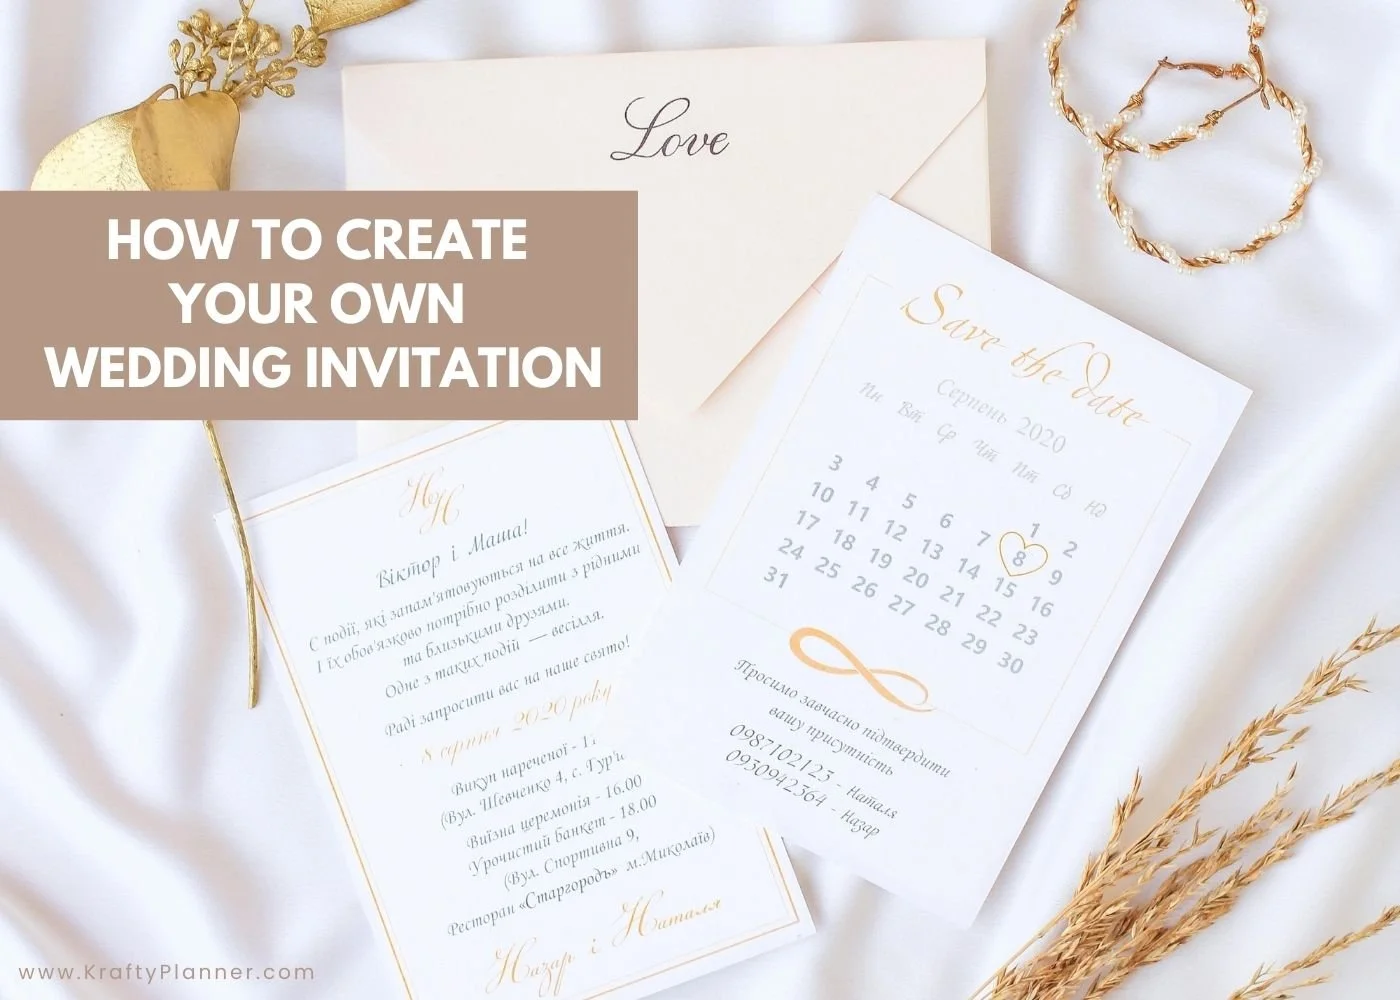
Creating a wedding invitation yourself allows couples to save money, add personality, and set the tone for their celebration. You can design a meaningful invitation by choosing a style that reflects the event, selecting quality materials, and using simple tools to bring the design to life.
This process not only gives more control over the final look but also makes the invitation feel more personal.
Many couples start by deciding on colors, fonts, and layouts that match the overall theme of the wedding.
Inspiration often comes from the venue, season, or even shared interests. From there, they can sketch ideas, use online design tools, or combine both approaches to create a unique layout that feels cohesive with the rest of the event.
The process continues with printing, assembling, and adding small details like envelopes, inserts, or seals. Each step allows couples to customize the experience while keeping costs manageable.
With a clear plan and the right tools, creating a wedding invitation becomes a rewarding part of the planning journey.
Planning and Designing Your Wedding Invitation
A well-designed wedding invitation reflects the style of the celebration, sets the tone for guests, and introduces the details of the day. Careful thought about theme, design tools, and personal touches helps create an invitation that feels consistent with the event.
Defining Your Wedding Style and Theme
The style of the wedding should guide the look of the invitation. A formal black-tie event calls for a clean and classic design, while a relaxed outdoor celebration may suit lighter colors or hand-drawn elements. Couples often match their invitations with the overall aesthetic of the venue, décor, and attire.
Colors play a major role. For example, if the couple chooses soft neutrals for the decorations, they may want to carry those shades into the stationery. Patterns such as florals, geometric lines, or cultural motifs can also tie the design to the larger theme.
Clothing choices influence design as well. A bride selecting her wedding dresses at JJ House with lace details may want invitations that feature similar textures or patterns. Likewise, the color palette chosen for formal bridesmaid dresses can inspire the ink, envelope liners, or ribbon accents on the invitation suite.
Choosing Wedding Invitation Templates and Tools
Design platforms provide a practical way to create invitations without advanced design training. Tools such as Canva, Procreate, or other online design services allow couples to customize layouts, fonts, and colors. Templates give a starting point, but adjustments make the design feel personal.
Paper choice also matters. Heavier cardstock feels more formal, while textured or recycled paper creates a natural look.
Couples should test their printer with sample paper before ordering in bulk to avoid color shifts or alignment issues.
Those who prefer professional support can use semi-custom templates offered by online stationery shops. This option allows flexibility in design while saving time. Couples can also purchase digital files from independent designers and print them locally for more control over quality.
Personalizing with Wedding Monograms and Unique Details
Monograms remain a popular way to personalize invitations. A simple design with the couple’s initials can appear on the main card, RSVP insert, or even the envelope seal.
This small detail often becomes a unifying element across menus, programs, and signage.
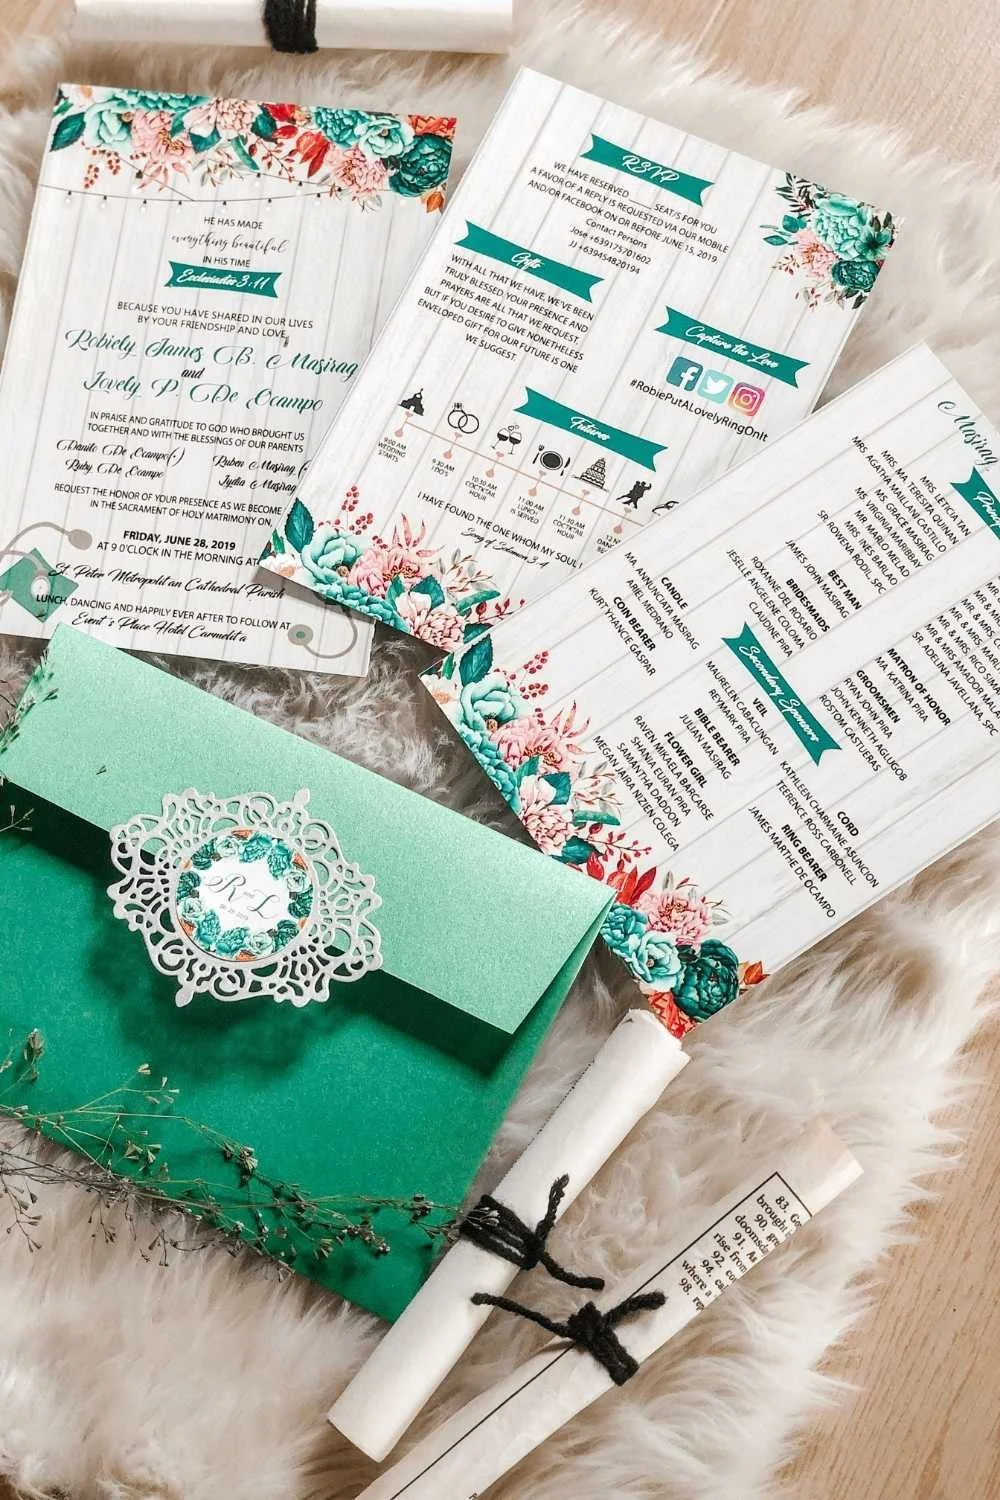
Other unique touches include wax seals, vellum overlays, or custom illustrations of the venue. These additions do not need to be elaborate but should connect to the couple’s story. For example, a sketch of the city skyline where the couple met can add a meaningful detail.
Embellishments such as silk ribbons, metallic foil, or pressed flowers can also elevate the design. However, couples should consider mailing costs, since thicker or heavier invitations may require additional postage. Careful planning helps balance creativity with practicality.
Crafting and Finalizing Your DIY Wedding Invitations
The process of creating wedding invitations involves careful choices about paper, printing, and assembly. Small details like wax seals, ribbons, and RSVP instructions also affect both the look and practicality of the final set.
Selecting Paper, Printing, and Assembly Techniques
Paper quality sets the tone of the invitation. Thick cardstock in matte, glossy, or textured finishes gives a polished look, while lighter paper can feel less formal.
Couples should check the weight their home printer can handle before buying large quantities.
Inkjet printers often handle specialty paper, but laser printers may give sharper text. Borderless printing avoids white edges, though it requires a printer that supports this feature. Testing a single sheet before bulk printing prevents wasted supplies.
Assembly matters as much as design. Invitations often include the main card, an RSVP insert, and an envelope. Using double-sided tape or glue dots keeps layers flat and neat. A bone folder helps create clean folds without tearing the paper.
Careful assembly also affects mailing costs. A trial run at the post office helps confirm postage before sealing every envelope.
Adding Finishing Touches: Wax Seals and Embellishments
Details like wax seals, ribbons, or vellum wraps add character to invitations. Wax seals can be pre-made stickers or created with a stamp and melted wax. They hold envelopes closed while adding a traditional look.
Ribbons, twine, or thin velvet bands keep inserts together and add texture. Couples who want a more modern style may use metallic clips or minimalist belly bands. Lightweight materials prevent bulky envelopes that cost more to mail.
Other accents, such as foil printing, pressed flowers, or hand-drawn artwork, can reflect the wedding theme. For example, a garden wedding may use floral motifs, while a black-tie event may favor metallic accents. Small details can also connect with attire choices, such as glamorous mother of the bride dresses, tying the overall style together.
Including RSVP Details and Sending Invitations
RSVP cards should clearly state how guests can respond. A traditional card with a return envelope works well, but many couples now include an email or wedding website for faster replies. Guests appreciate simple instructions with a clear deadline.
Before mailing, one complete invitation should be weighed at the post office. This avoids underpaid postage, which delays delivery. Standard invitations usually need a single stamp, but added layers, wax seals, or thicker paper may require extra postage.
Mailing invitations six to eight weeks before the wedding gives guests enough time to plan. Couples should also keep a few extra sets aside in case of last-minute guest list changes or lost mail.
Conclusion
Creating a wedding invitation at home allows couples to control both style and budget while adding a personal touch. Simple designs, thoughtful wording, and the right materials can result in an invitation that feels polished without outside help.
They should plan each step carefully, from design choices to printing methods, to avoid mistakes and extra costs. Small details such as paper quality, color, and layout often make the biggest difference.
As a result, couples who take the time to prepare, test, and assemble their invitations can produce pieces that reflect their event in a clear and meaningful way.
BEFORE YOU GO:
Here are a few more posts you might like:
How to Create a Monthly Routine for Cleaning Up Your iPhone Photos
Effective Monthly Reviews: Questions to Keep You Accountable
See my Link Party Directory for a current list of blog parties I attend each week.
FOR PERSONAL USE ONLY – Please Read Freebies Terms of Use.
(This post may contain affiliate links. For more information, see my disclosures here.)
~ SHARE THIS POST ~
Did you like this post? Do you know someone else who might enjoy it? Please take a minute to share it on Pinterest, Facebook, or your favorite social media… Thank you!