
How to Plan and Budget for a DIY Greenhouse Glazing Repair
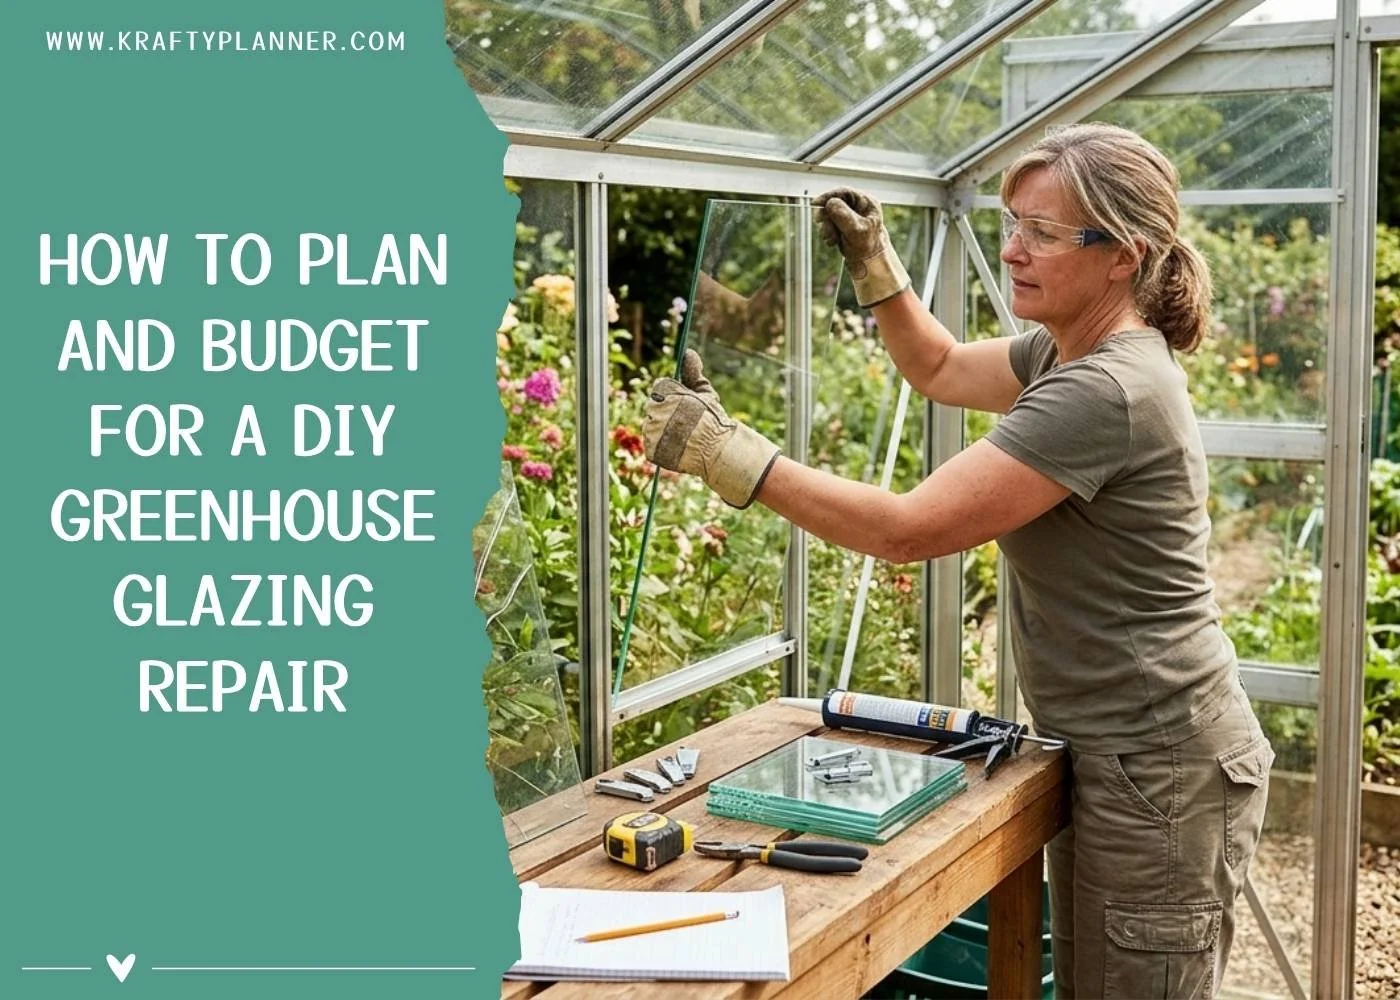
A cracked greenhouse panel isn't just an eyesore. It's a threat to every plant inside. Temperature fluctuations, moisture intrusion, and pest access can turn a minor crack into a major problem fast.
The good news?
Fixing it yourself is completely doable, and it doesn't require a second mortgage.
Whether you're dealing with a single shattered pane or several panels showing their age, a little planning goes a long way. Here's how to approach your DIY greenhouse glazing repair with a clear head and a realistic budget.
Assess the Damage Before You Spend a Dime
Grab a notebook and walk around your greenhouse. Look at every panel, not just the obviously broken ones. Hairline cracks, cloudy polycarbonate sheets, and loose glazing clips all count.
You want a full picture before you start buying materials.
What to Document
The number of panels that need replacing
Exact measurements of each damaged panel (height, width, thickness)
The glazing material (glass, polycarbonate, acrylic)
The condition of glazing bars, clips, and seals
This inventory becomes your shopping list. Skipping this step almost always leads to extra trips to the store or ordering the wrong sizes online.
Measure twice. Actually, measure three times. Greenhouse panels can vary by fractions of an inch depending on the manufacturer and age of the structure.
Understanding Your Glazing Options
Not all greenhouse glazing is created equal, and your choice of material will shape your entire budget.
Traditional horticultural glass remains popular for good reason. It offers excellent light transmission, resists scratching, and lasts decades with proper care.
If your greenhouse originally came with glass panels, sourcing replacement glass for greenhouse panes cut to your exact specifications is often the most straightforward path.
Glass vs. Polycarbonate
Standard horticultural glass typically costs between $2 and $5 per square foot, depending on thickness.
Toughened safety glass runs higher, around $6 to $12 per square foot.
Polycarbonate twin wall panels fall somewhere in the $1.50 to $4 range per square foot but offer better insulation and shatter resistance.
For most hobby greenhouse owners, replacing a few panels of glass makes sense if the existing structure uses glass.
Mixing materials can create uneven insulation and looks a bit odd, frankly. Stick with what matches unless you're overhauling the entire structure.
Building Your Repair Budget
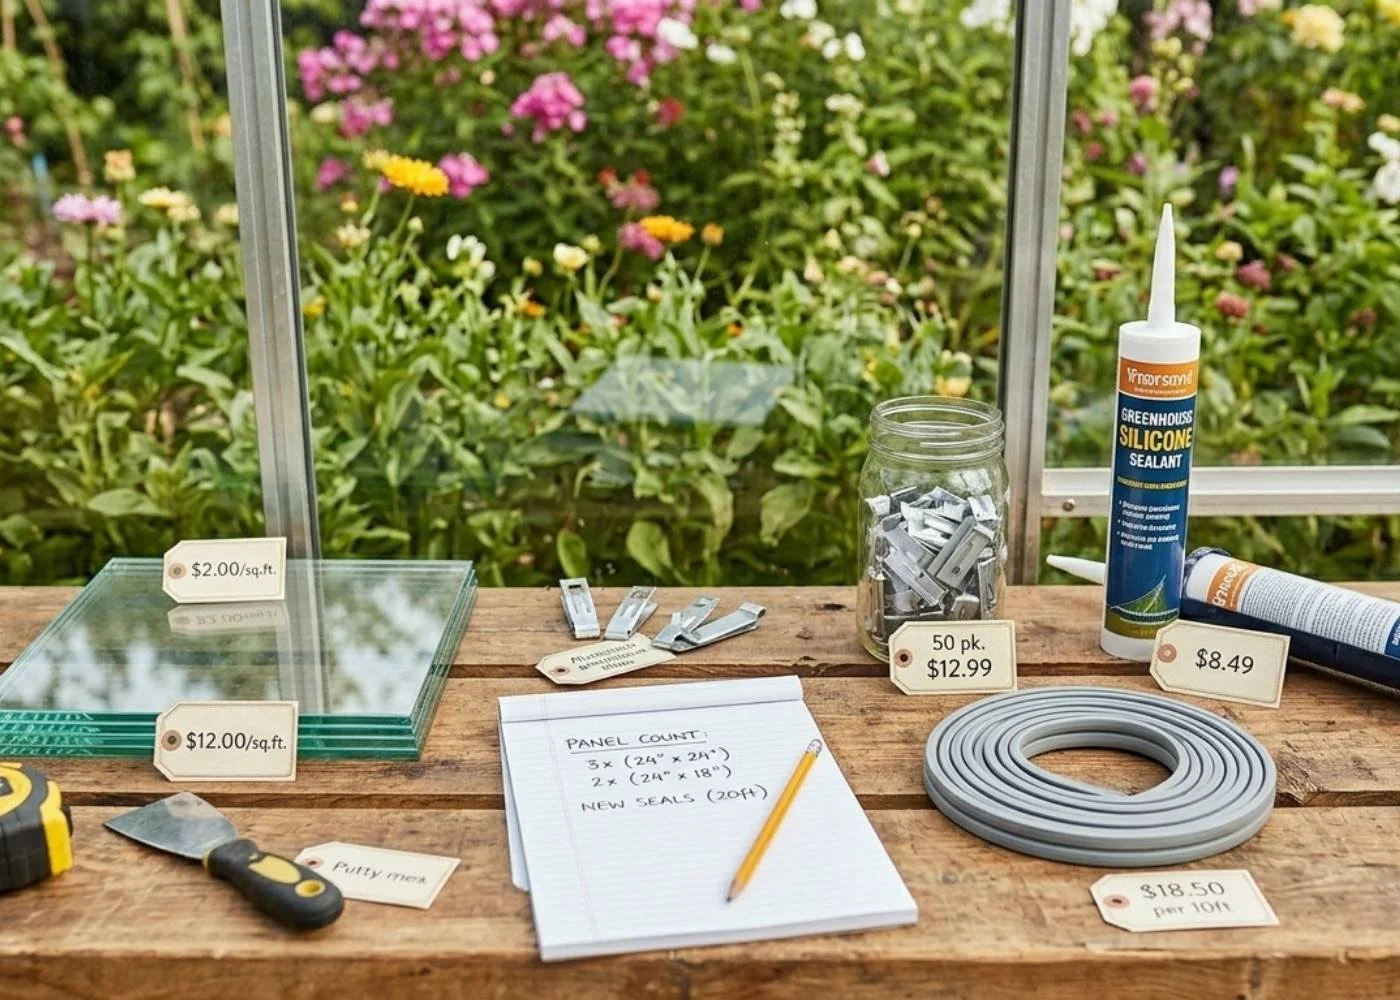
Here's where the planning gets practical. A typical DIY greenhouse glazing repair for three to five panels will run between $50 and $200, depending on material choice and whether you need new hardware.
Cost Breakdown
Glazing panels: $30 to $120 (varies by material and quantity)
Glazing clips or W/Z clips: $5 to $15 for a pack of 50
Silicone sealant or putty: $5 to $10 per tube
Rubber glazing strip: $8 to $20 for a 10-foot roll
Safety equipment (gloves, goggles): $10 to $15 if you don't already own them
Budget an extra 15% for surprises.
Old glazing bars sometimes crumble when you remove damaged panels, and you might discover rust or rot that needs attention before new glass goes in.
Planning the Repair Day
Pick a calm, dry day. Wind is the enemy of greenhouse glazing work. Even a moderate breeze can catch a glass panel like a sail, and that's a safety hazard you don't need.
Tools You'll Need
Putty knife or glazing tool
Pliers for removing old clips
Tape measure
Step ladder (stable, not wobbly)
Heavy work gloves and safety glasses
A helper for larger panels
Start by carefully removing the broken panel from the top down.
Clean out old putty or sealant from the glazing bars completely.
Apply fresh sealant or rubber strip before setting the new panel into place, then secure with clips.
The whole process takes roughly 20 to 30 minutes per panelonce you find your rhythm.
Saving Money Without Cutting Corners
Timing matters. Ordering glazing materials during late winter or early spring often means better availability, since suppliers stock up ahead of the growing season.
Buying all your replacement panels at once usually qualifies for better pricing than ordering one at a time.
Consider joining local gardening groups on Facebook or Nextdoor. People regularly give away old greenhouses for free, and salvaging usable panels from them can slash your costs to nearly zero.
Your greenhouse is an investment in fresh food, beautiful flowers, and your own sanity. Keeping it properly glazed protects that investment. With a solid plan, a realistic budget, and a free Saturday afternoon, you can handle this repair yourself and feel genuinely proud of the result.
Before you go:
You might also be interested in…
FOR PERSONAL USE ONLY – Please Read Freebies Terms of Use
(This post may contain affiliate links. For more information, see my disclosures here.)
~ SHARE THIS POST ~

Did you like this post? Do you know someone else who might enjoy it? Please take a minute to share it on Pinterest, Facebook, or your favorite social media… Thank you!

















Planning your year as a caregiver? Learn how to organize caregiving expenses, appointments, routines, and respite while protecting your budget and energy.