
How to Make a Leather Cover for Your Traveler's Notebook

A store-bought leather cover costs more than you'd like, and even then it's rarely the exact height, width, or color you pictured.
The good news is that making your own is an afternoon's job with a few tools and a piece of leather you pick yourself.
A traveler's notebook is a set of paper inserts held inside a folded leather cover by elastic cord threaded through holes in the spine.
If you already carry one, you have everything you need to size a new cover to the notebook in your hand. Let me show you how!
What you'll need

Gather these before you start:
Vegetable-tanned leather: a firm piece of leather that holds a fold, 3 to 5 ounces thick (more on weight below).
Your traveler's notebook insert: the paper booklet you already carry, used as your measuring guide.
A steel ruler: a metal straightedge for the knife to ride against.
A utility knife: a sturdy blade, with fresh spares to swap in.
A self-healing cutting mat: something to cut on, so the blade bites cleanly instead of skating.
A revolving leather hole punch: a punch shaped like a pair of pliers, with a wheel of cutting tubes in different sizes. Use the Maun heavy duty revolving leather hole punch (model 2233-200) for 4 to 5 ounce cover leather: it is rated for leather thicker than 1.5 mm, and its lever-assisted handles take up to 70 percent less effort to squeeze than a standard revolving punch.
Round elastic cord: stretchy cord for the two bands, one that holds your insert inside the cover and one that wraps around the closed notebook.
A pencil or an awl: for marking light cutting lines and hole positions.
Fine sandpaper or a coarse cloth: for smoothing the cut edges.
Leather conditioner: a balm or cream that softens and protects vegetable-tanned leather.
Choosing your leather

Reach for vegetable-tanned leather. Tanned with bark and plant tannins, it's firm and dense, so it holds a crease and keeps its shape through months of being opened, folded, and stuffed into a bag.
Chrome-tanned leather is softer, tanned with chromium salts that leave it supple from the start, but it won't hold a sharp spine fold, so the cover sags and won't stay crisp.
Leatherworkers measure thickness in ounces, where one ounce is about a sixty-fourth of an inch, or 0.4 mm (source). That makes 4-ounce leather about 1.6 mm thick and 5-ounce leather about 2 mm. For a cover, 3 to 4 ounces folds easily and still feels solid, while 4 to 5 ounces gives you a stiffer cover that holds its shape in a bag.
Notebook-cover leather at 4 to 5 ounces needs a hole punch strong enough to cut through it in one squeeze, because a punch that stops partway crushes the leather and leaves a ragged hole.
Above about 6 ounces, the leather gets hard to fold and harder still to punch.
Sizing the cover from your insert
Size the cover from the insert you already carry: add about 1/4 inch at each end for the height, and for the width, double the insert's width and add a spine allowance. Insert sizes vary, so a cover cut to a template you found online can leave the paper poking out past the cover or sliding around loose inside it.
The extra 1/4 inch at each end lets the leather clear the paper. The width is doubled because the cover wraps both the back and the front of the insert, and the spine allowance covers the fold and the thickness of the stack. Without that allowance, the cover pulls tight and won't close flat.
For a regular-size insert, about 4.3 by 8.3 inches, adding 1/4 inch at each end gives a cover 8.8 inches tall. Doubling the 4.3-inch width gives 8.6 inches, and a 1/2-inch spine allowance brings the cover to about 9.1 inches wide. Mark your lines lightly in pencil on the flesh side, the rougher back of the leather, which becomes the inside of the cover.
Cutting the cover

1. Lay the leather on the cutting mat, flesh side up, with your marked lines showing.
2. Line the steel ruler along the first line and press it down hard, keeping your fingers back from the edge.
3. Draw the utility knife along the ruler in a steady, light pass, letting the blade ride against the metal. Don't try to force it through in a single stroke: if you press too hard, the blade skates off the ruler and nicks a curve into a line that should be straight. Make two or three passes in the same track until the knife parts the leather cleanly.
4. Cut all four sides this way, then round the corners. Square corners catch on things and dog-ear in a bag, so trace around a coin at each corner and trim the curve in several light passes with the tip of the knife.
Smoothing the edges and conditioning
Smooth the cut edges first. The knife leaves them square and a little rough, so rub them down with fine sandpaper or a coarse cloth until they feel smooth under your thumb. Then work a small amount of leather conditioner into the grain side, the smooth outer face, with your fingers or a soft rag. Let it soak in and buff off the excess. Doing this before you punch and thread keeps conditioner off the elastic. The conditioner also helps keep the leather from drying out and cracking along the fold.
Marking the holes
The cover needs four holes, and their position decides whether the insert sits straight and the cover closes flat. Find the center of the width, in the middle of the spine allowance, and draw a light fold line from top to bottom on the flesh side.
Two holes go on that fold line and carry the insert band, the length of elastic that holds your insert inside the cover. Mark them level with the top and bottom ends of the insert, about 1/4 inch in from the top and bottom edges of the cover. If both marks sit the same distance from their edges, the insert hangs straight. If one sits higher than the other, the insert leans to one side.
The other two holes carry the closure band, the loop of elastic that wraps around the closed notebook to hold it shut. Mark them on the back cover, about 1/2 inch in from its outer edge and about an inch apart, centered on the cover's height. Store-bought covers often bring the closure band out of the middle of the spine instead, but those holes sit too far from any edge for a revolving punch to reach, so they need a drive punch (see below).
For a second insert, mark another top-and-bottom pair about 1/4 inch to one side of the fold line, also 1/4 inch in from the top and bottom edges, and thread a third length of cord through those two holes the same way. Check every mark against your insert before you punch, because a hole can't be moved once it's cut.
Punching the holes

1. Turn the punch's wheel to the right tube. Pick the tube that cuts a hole your elastic cord just fits through, snug enough that the cord grips but not so wide that it slips loose.
2. Test on a scrap of the same leather first, such as a strip cut from the edge of your piece. Punch the scrap, push the cord through, and check the fit. If the cord slides through loosely, step down a tube size; if you can't thread it, step up.
3. Set the leather between the jaws with the tube centered on your mark and squeeze in one firm, full motion to cut a clean, round hole. If you ease off halfway and squeeze again, the hole comes out ragged, with a flap of leather still attached.
4. Punch each mark the same way, clearing any plug of leather from the tube between holes. A revolving punch only reaches as far in from the edge as its jaws are deep, which is why every hole in this layout sits close to an edge.
Threading the elastic

1. Cut two lengths of round elastic cord, one for the insert band and one for the closure band (and a third if you carry a second insert), each a few inches longer than you think you need.
2. For the insert band, push one end of the first length out through the bottom spine hole from the inside, leaving a tail on the inside. Run the cord up the outside of the spine, push it back in through the top hole, and run it down the inside to meet the tail.
3. Tuck your insert's folded spine under the inside length of cord so it pins the booklet to the cover. Pull the cord snug, tight enough that the insert won't slide but loose enough that the pages still open flat. Knot the two ends together on the inside and trim them.
4. For the closure band, push the second length out through one back-cover hole and back in through the other, so a loop sits on the outside of the back cover. Knot the ends together on the inside. Close the notebook, stretch the loop around it, and adjust the knot until the loop holds the cover shut without bending the leather.
Breaking in the cover
Fold the cover closed and open it flat a few times, running your thumb down the spine fold, until it folds easily and stays shut on its own. A new vegetable-tanned cover starts stiff, and a few minutes of folding softens the fold line.
Using a drive punch instead
A drive punch, a hollow steel tube you strike with a mallet, makes the same clean hole without a revolving punch, and it can reach a hole anywhere on the cover, including the middle of the spine. Set the leather on a plastic poly board on a sturdy workbench, stand the punch on your mark, and strike it squarely with the mallet. One firm hit drives the tube through. If you tap timidly or work over something soft, the tube only dents the leather.
Making the cover without leather
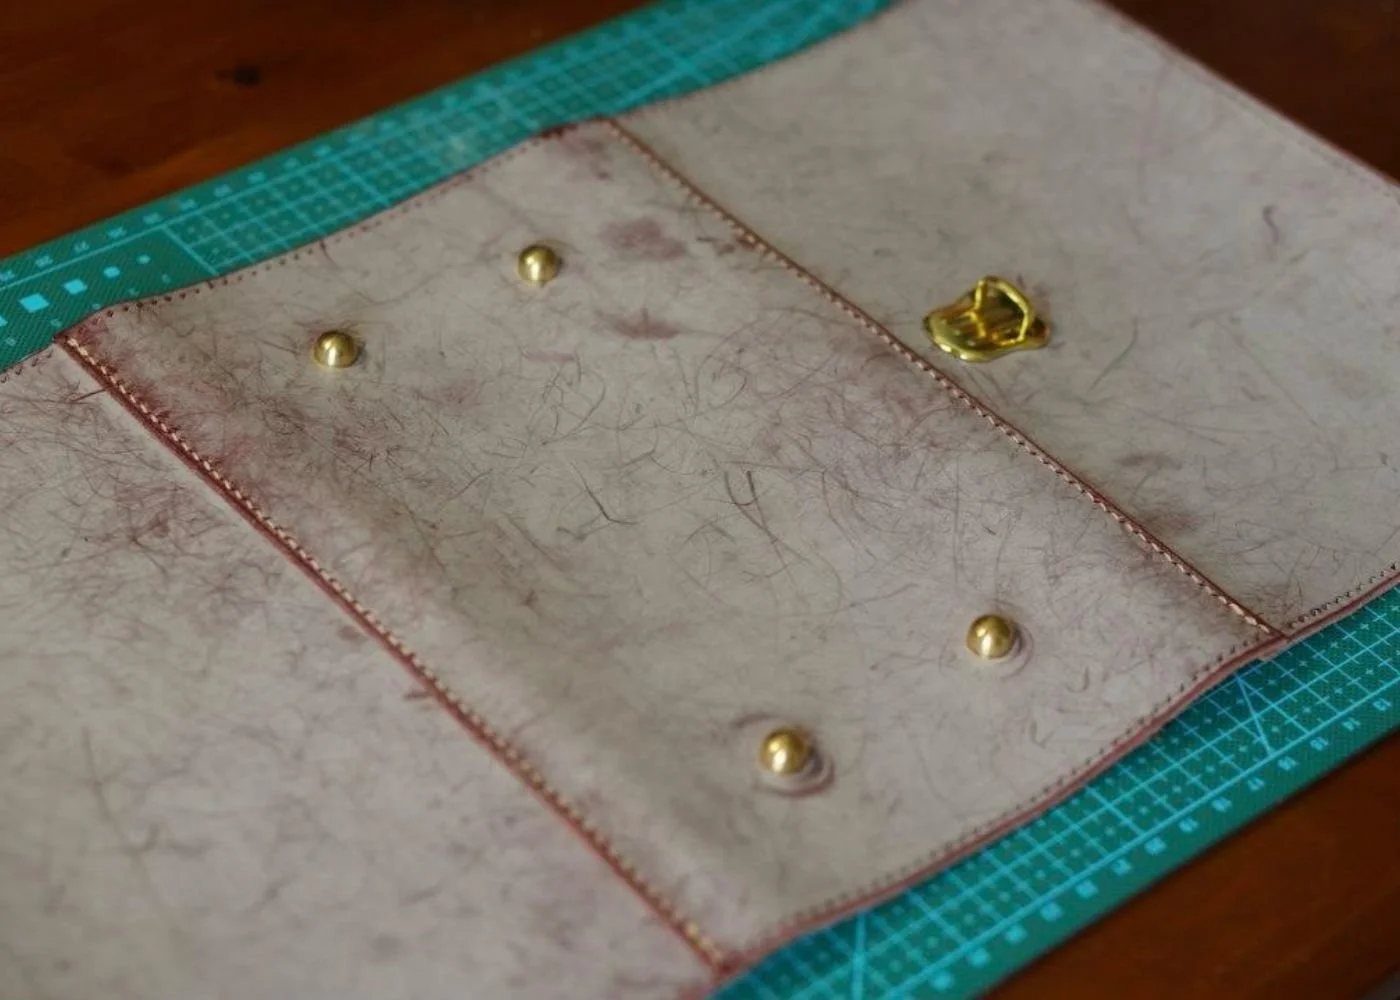
Faux leather and cork fabric both work if you'd rather not use leather. Faux leather cuts and folds much like real leather, though it won't darken with use. Cork fabric is light, water-resistant, and vegan, and it punches cleanly. Both are usually thinner and floppier than 4 to 5 ounce leather, so pick the thickest sheet you can find.
Most of the steps stay the same; skip the conditioning and the breaking in, which are for real leather.
FAQ
What type of leather is best for a notebook cover?
Vegetable-tanned leather, because it holds a crease and keeps its shape through daily use. When you buy it, ask for veg-tan in 3 to 5 ounces and a piece at least 10 by 10 inches for a regular-size insert, which leaves room to trim and a strip for testing your punch.
How thick should leather be for a traveler's notebook?
Choose 3 to 4 ounces (about 1.2 to 1.6 mm) for a cover that folds easily, or 4 to 5 ounces (about 1.6 to 2 mm) for a stiffer cover that holds its shape in a bag.
How do you stiffen leather for a journal cover?
Start with a heavier weight: 4 to 5 ounce vegetable-tanned leather holds its shape far better than thin, soft leather. Go easy on conditioner too, since it softens leather. If a cover you've already cut is too floppy, glue a stiffer liner leather to the inside, flesh side to flesh side, to add body without changing the outside.
Can you make a traveler's notebook cover without leather?
Yes. Faux leather and cork fabric cut, fold, and punch much like leather, though both are usually thinner, so choose the thickest sheet you can find.
That's all there is to it! If you make one, I'd love to see how yours turned out in the comments.
Happy crafting!
Before you go:
You might also be interested in…
(This post may contain affiliate links. For more information, see my disclosures here.)
~ SHARE THIS POST ~

Did you like this post? Do you know someone else who might enjoy it? Please take a minute to share it on Pinterest, Facebook, or your favorite social media… Thank you!








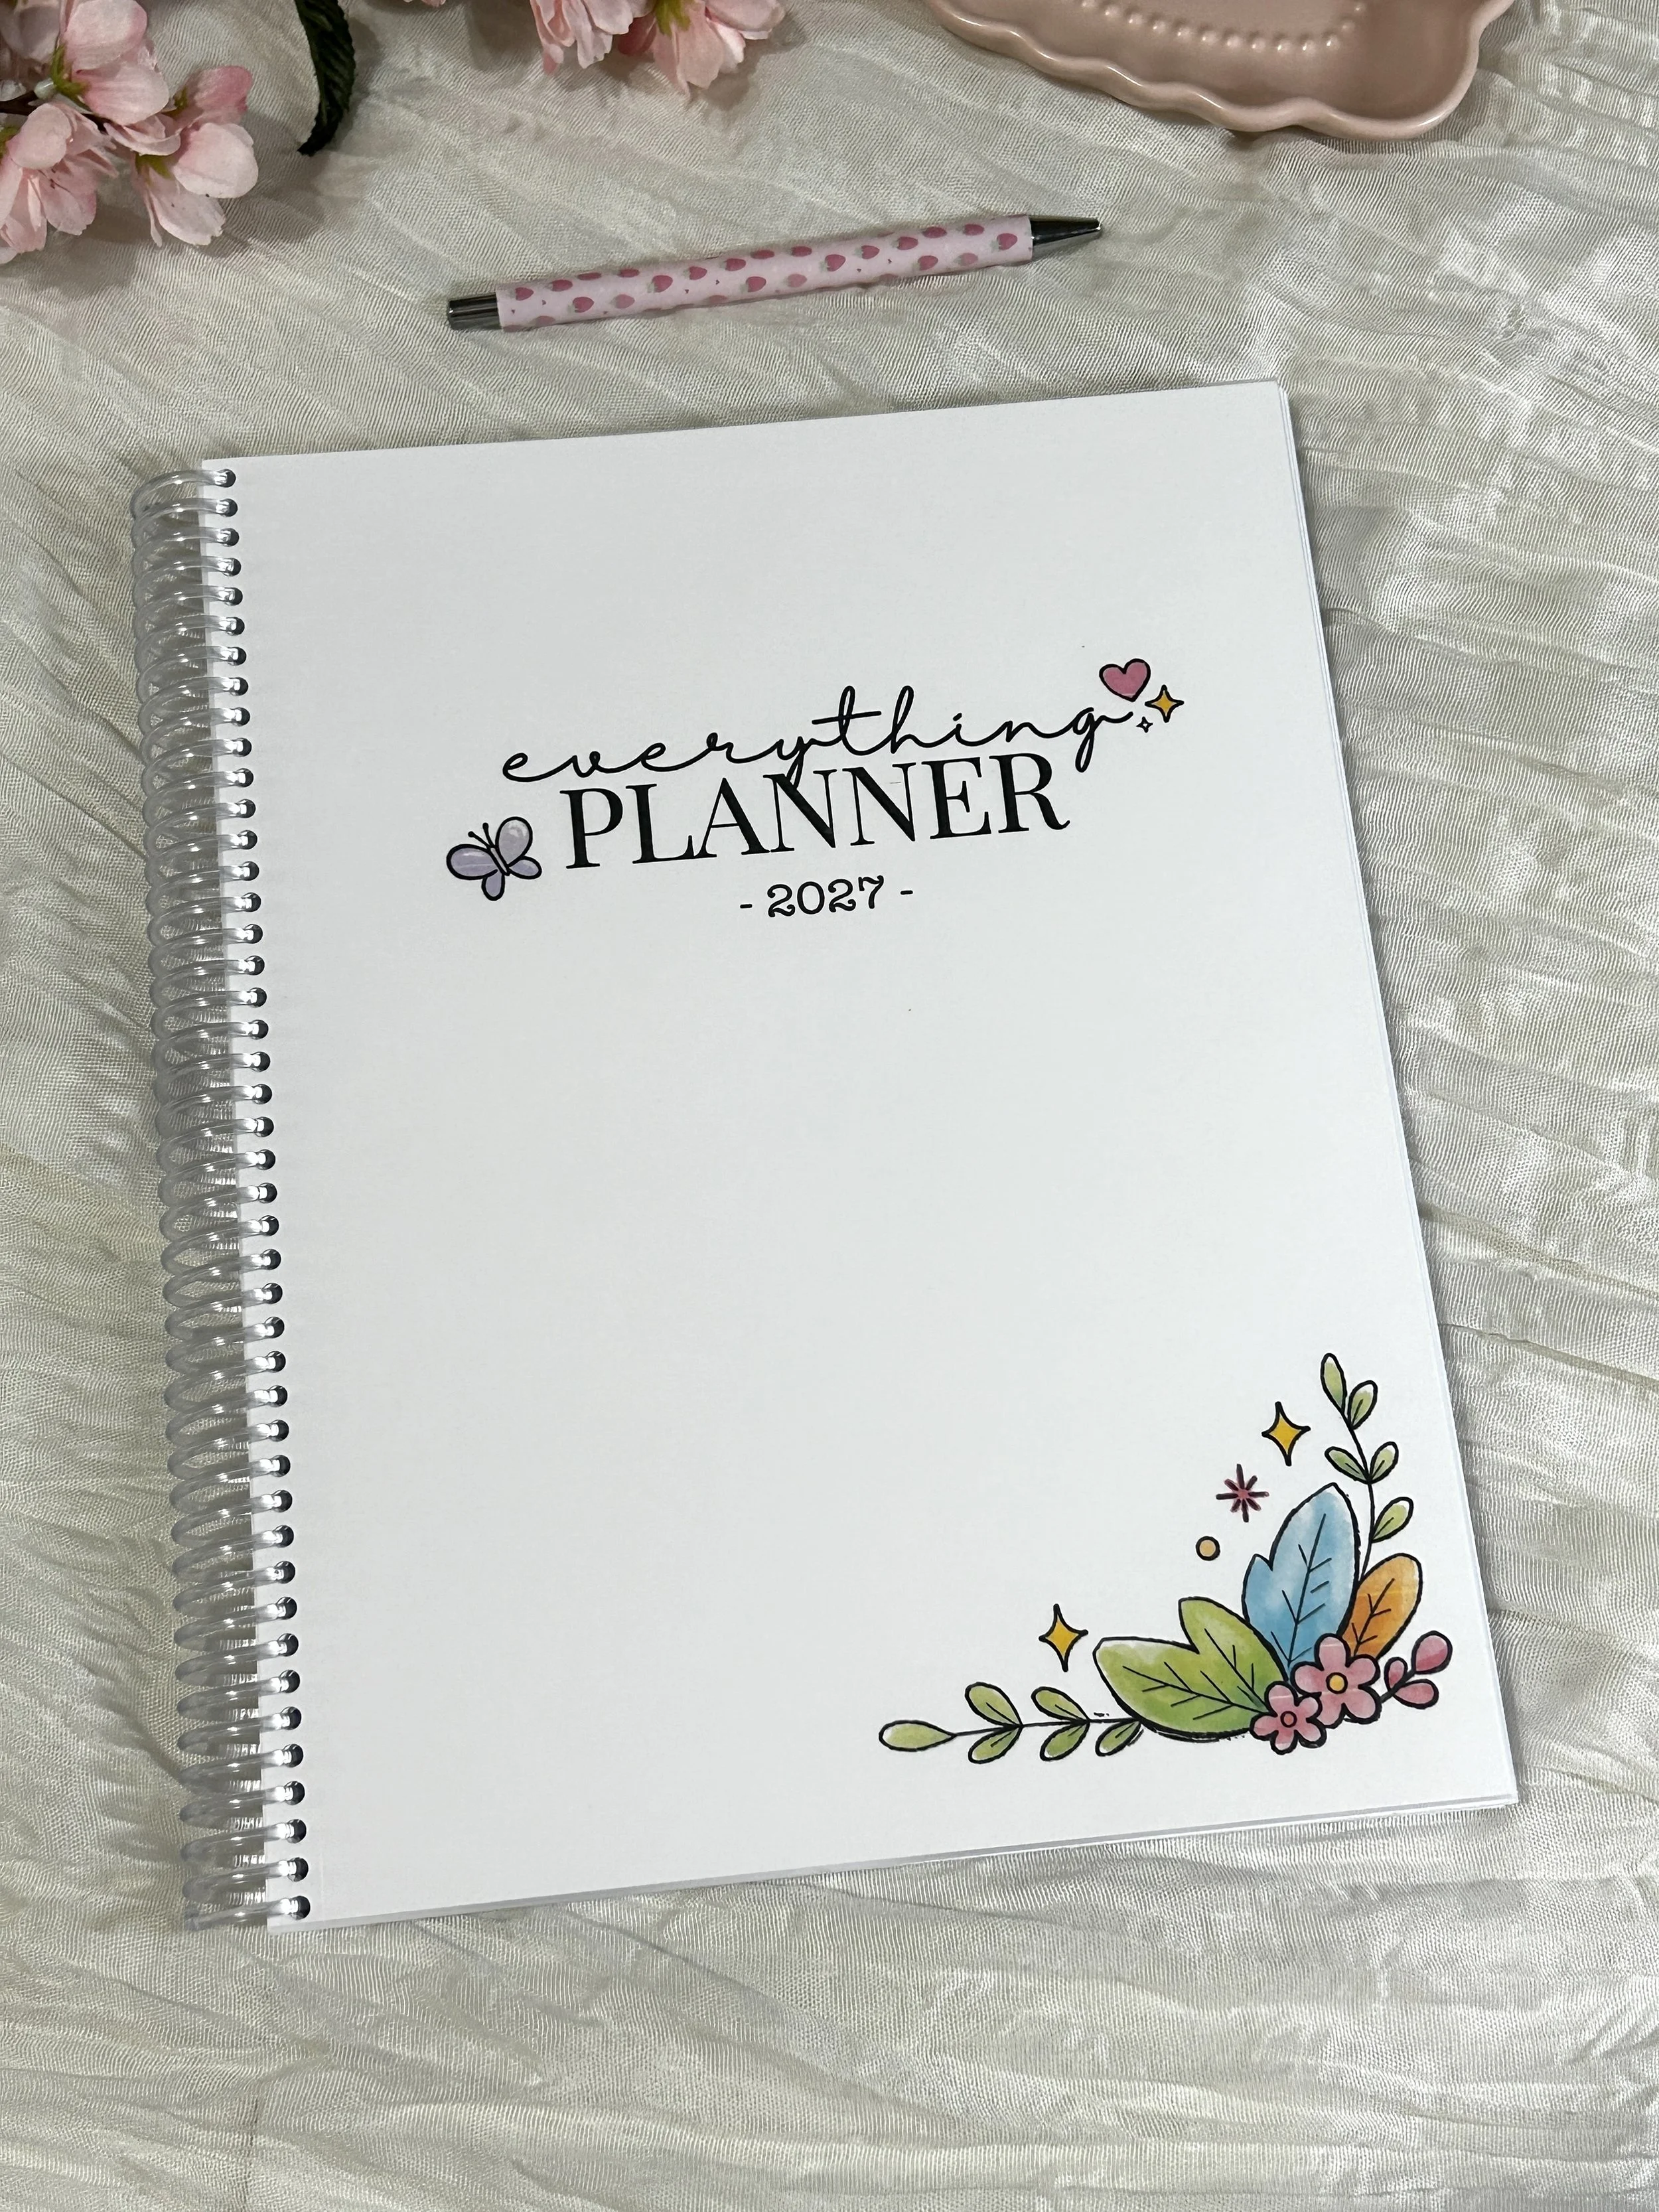
Bring structure and a little joy to your everyday planning with the 2027 Everything Planner.
Dated from January through December 2027, this full-size planner (8.5" × 11") is designed to help you organize your schedule, set meaningful goals, and keep track of the things that matter most—all while making planning something you’ll actually enjoy.
Thoughtfully designed and handmade in my studio in Seneca Falls, New York, every planner is printed on premium paper, bound with a durable, clear coil, and finished with a soft-touch matte floral cover. It lays flat for easy writing and is ready to use right out of the package.
What's Inside
2027 & 2028 Year-at-a-Glance Calendars
Yearly Goal Planning Pages
Books to Read List
My Dreams List
Level 10 Life Worksheets
Yearly Reflection Pages
Monthly Cover Pages
Two-Page Monthly Calendars
Monthly Planning & Goal Pages
Monthly Tasks & Habit Tracker
Dated Weekly Planning Pages
Monthly Review & Notes Pages
End-of-Year Review
Product Details
Size: 8.5" × 11"
256 premium printed pages
Soft-touch matte laminated cover
Durable clear coil binding
Lays flat while writing
Handmade in Seneca Falls, New York
Why You'll Love It
The Everything Planner was created to be more than just a calendar. It's a place to organize your schedule, capture ideas, work toward your goals, and create routines that help you build an intentional life.
The thoughtfully designed layouts give you plenty of room to plan in a way that works for you.
Whether you're organizing work, school, family life, or personal goals, this planner is designed to help you P.L.A.N. Everything:
Productivity • Lifestyle • Accountability • New Beginnings
Each planner is carefully printed, assembled, and packaged by hand before being shipped directly to you.



Learn how to make a custom leather cover for your traveler's notebook in a day. Easy step-by-step DIY guide using simple tools & vegetable-tanned leather!